Configuring Opayo Server by Elavon Module for osCommerce 2.2
April 23, 2024
If you're looking to set up the Opayo Server by Elavon module on your osCommerce 2.2 platform, you've come to the right place. This user guide will walk you through the process step by step. Before we begin, make sure to check out the manuals "Installing Opayo Server by Elavon Module for osCommerce 2.2 via Installer" and "Zip File" for initial setup instructions.
|
Installation Steps
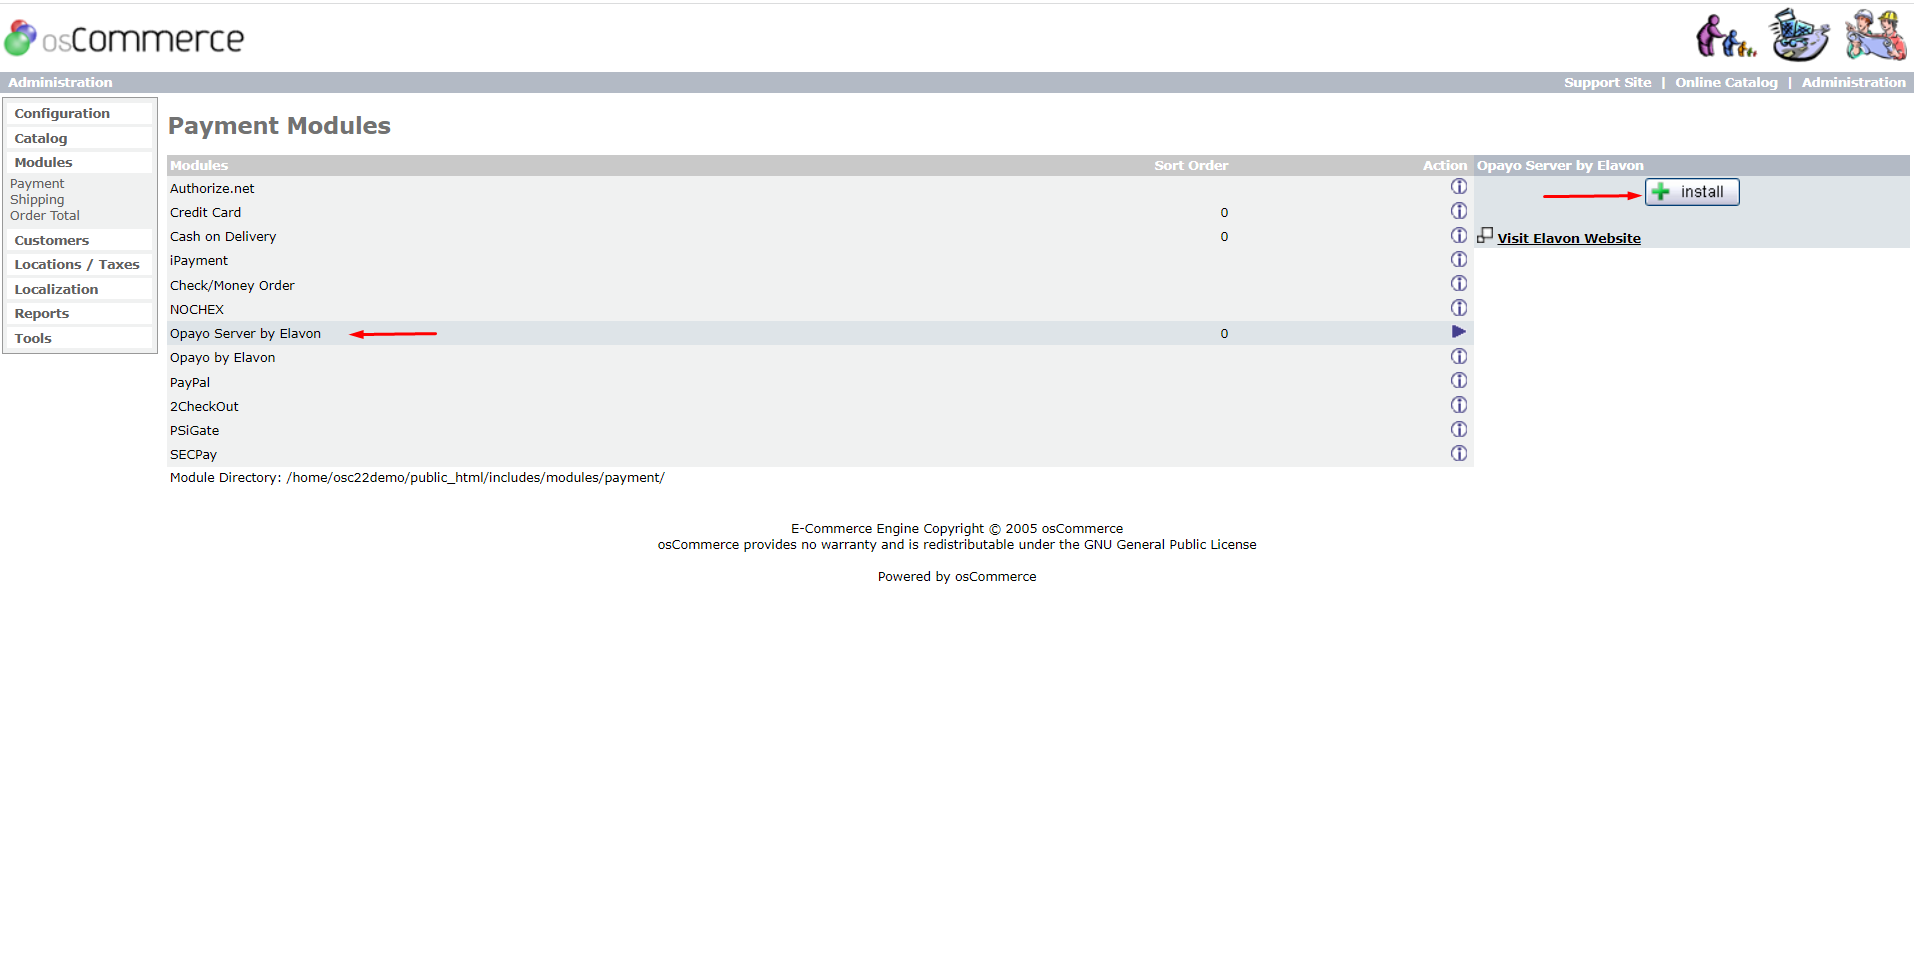
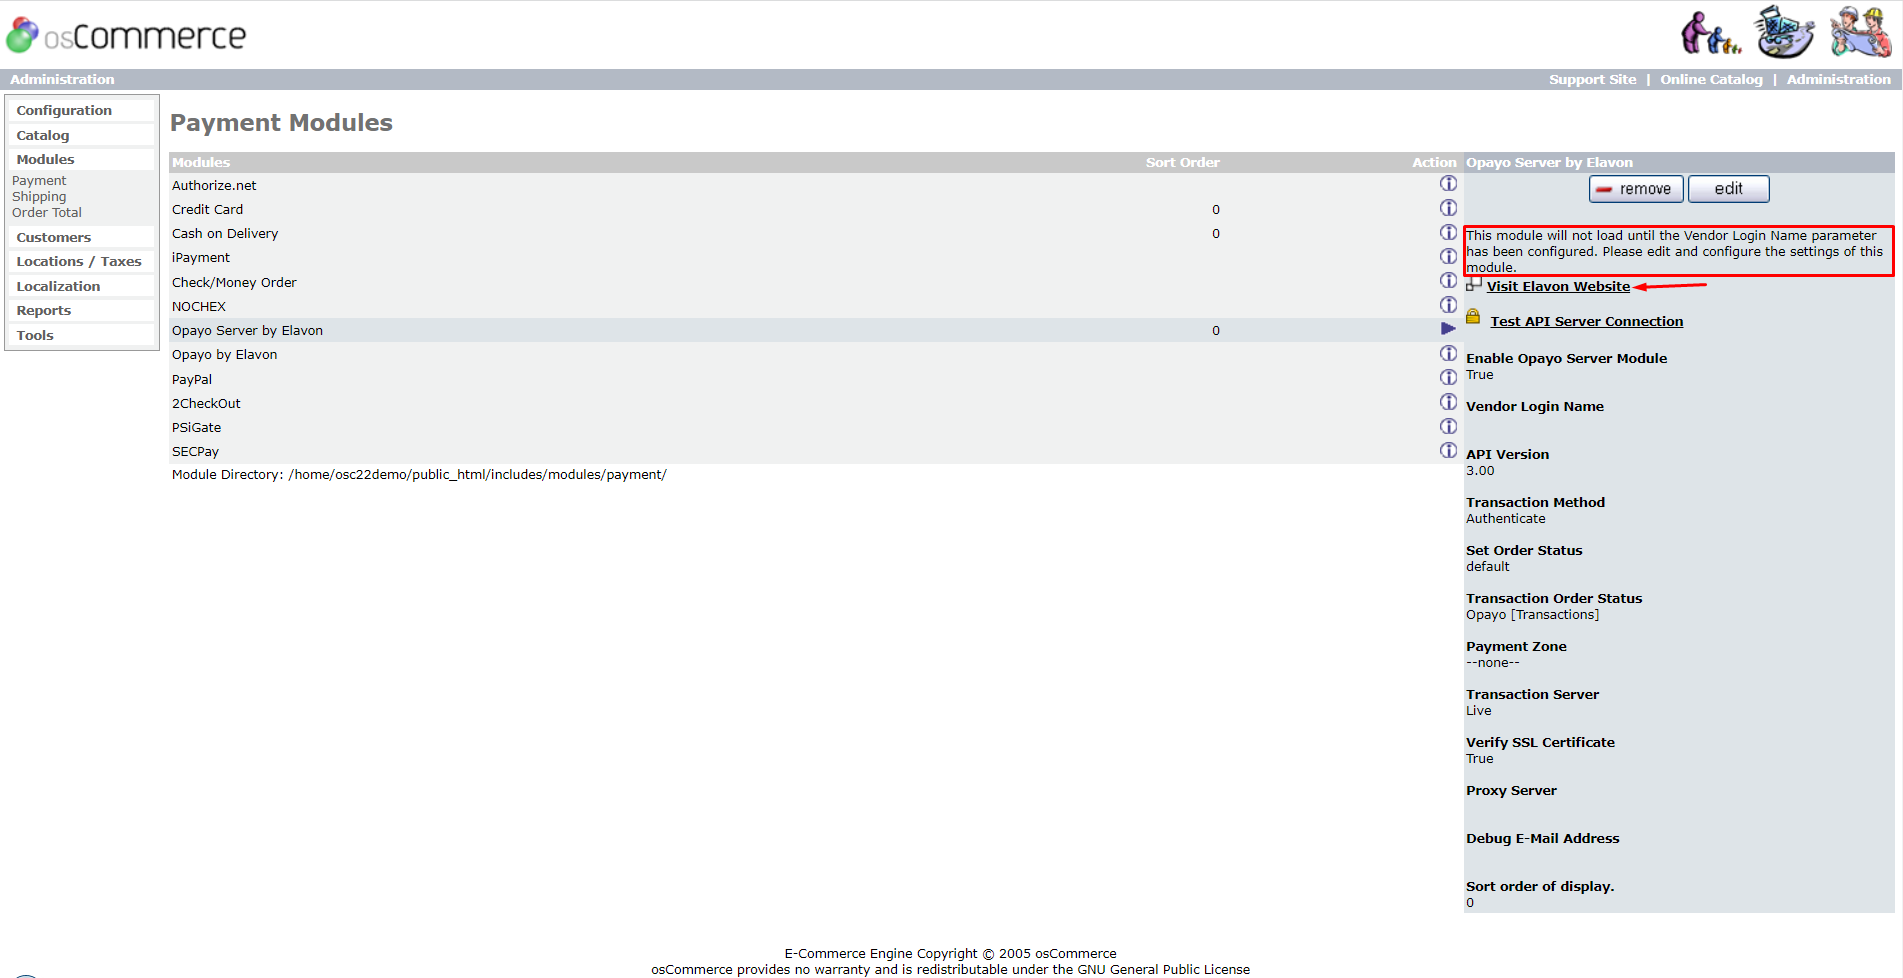
1. Installation Method: If you installed the Opayo Server by Elavon module via Zip File, simply click on the "Opayo Server by Elavon" module and then hit "Install Module."
For those who used the Installer, this step is automated for you.
|
|
|
|
2. Vendor Login: If you don't have a vendor login name yet, click on the "Visit Elavon Website" link.
|
|
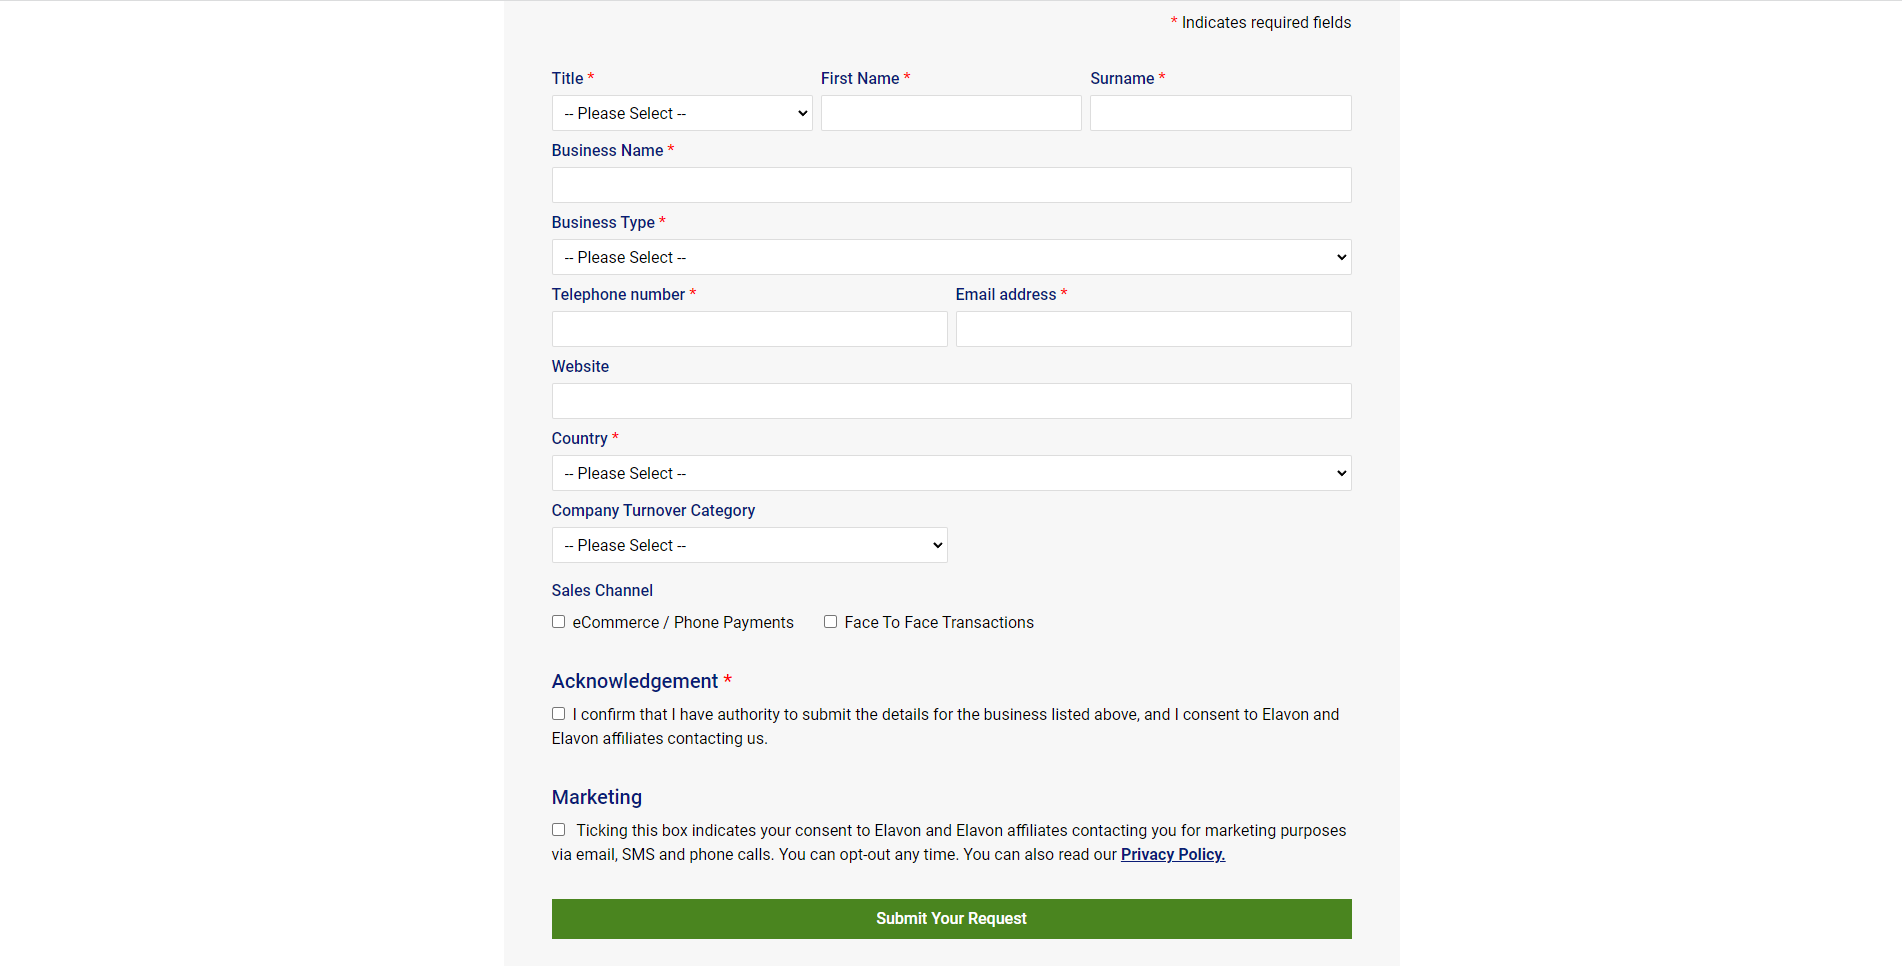
- Fill in the required fields and submit your request.
|
|
|
|
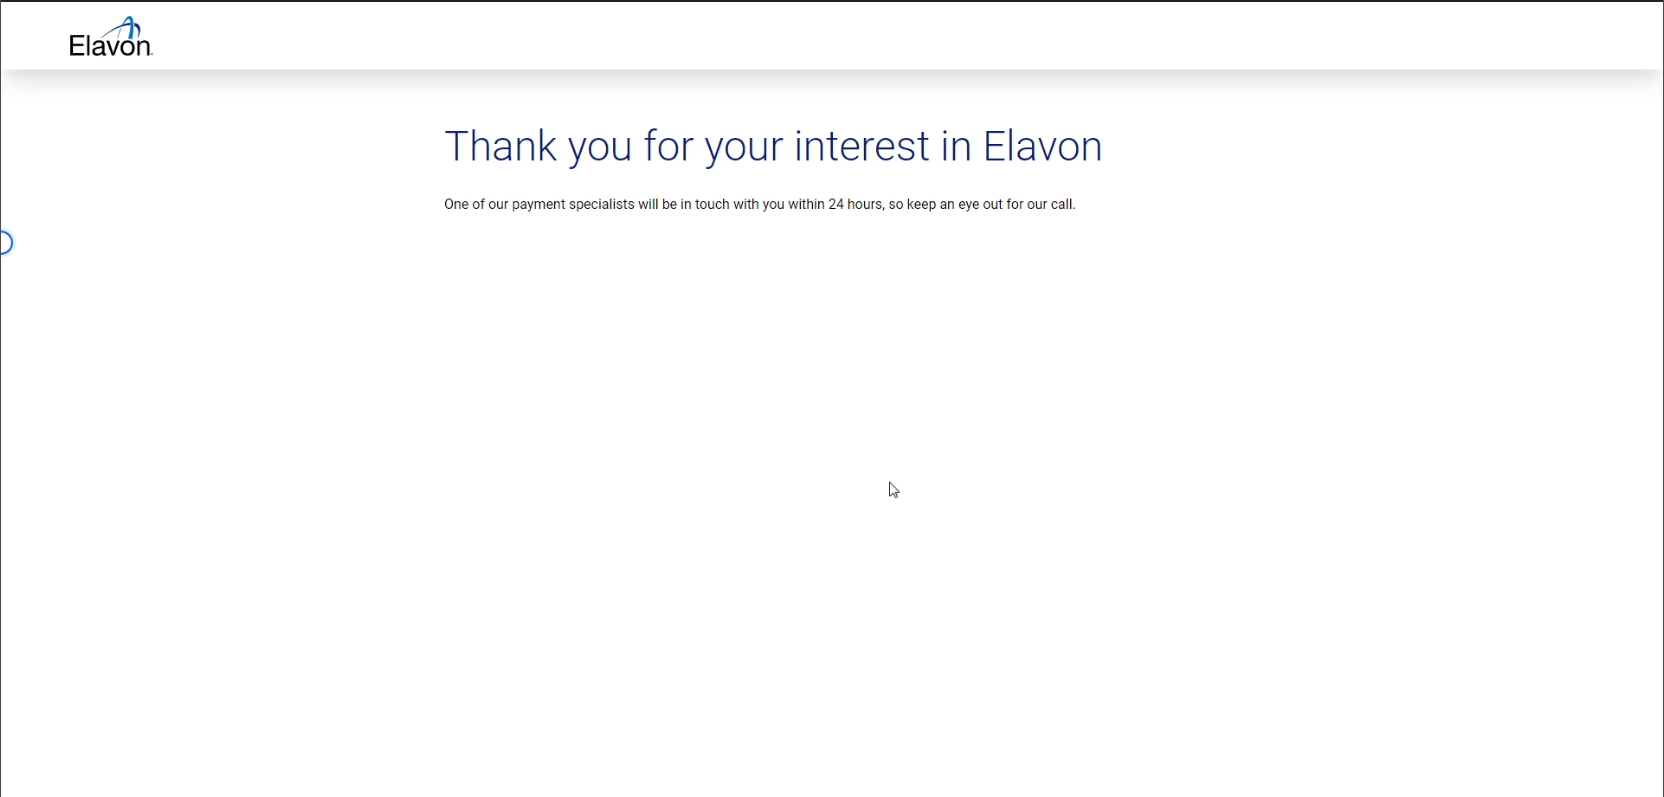
- Once done, you'll receive a call from an Elavon payment specialist. Confirm your request with them to create your account.
- Keep an eye on your email for the message containing your vendor login name.
|
|
Module Settings
Once you have your vendor login name, click on the Edit button to proceed with these settings within the Opayo Server by Elavon module:
|
.png)
|
.png) |
- Accept Opayo Server Payments: Enable this option.
- Vendor Login Name: Input the vendor login name you received.
- API Version: Choose between 3 or 4. Version 4.00 is required for 3DS version 2 and SCA.
- Transaction Processing Method:
- Authenticate: Checks a credit card.
- Deferred: Blocks a small amount on a credit card.
- Payment: Processes the full amount.
- Order Status: Set the status of orders made with this payment module.
- Transaction Information: Choose to include transaction details in the order status.
- Payment Zone: If needed, select a payment zone to enable this method for specific areas.
- Server: Perform transactions on either production or testing server.
|
|
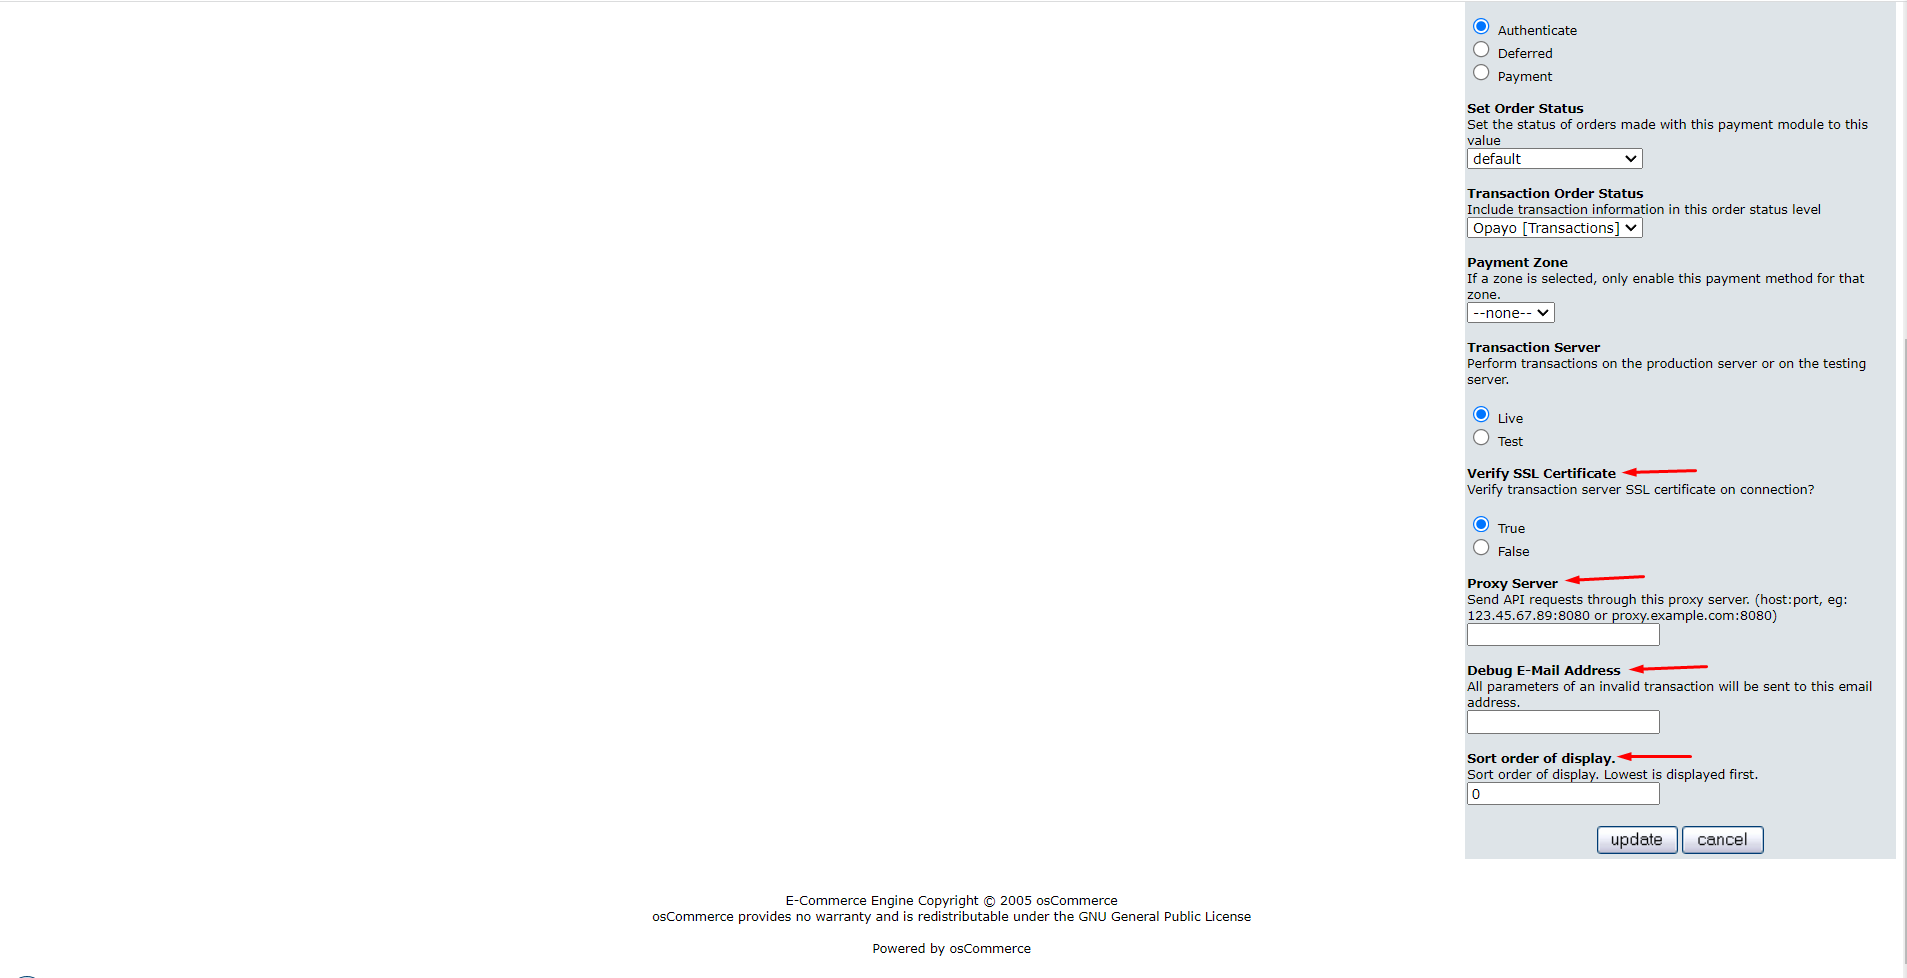
- SSL Certificate Verification: Ensure the transaction server SSL certificate is verified.
- Proxy Server (Optional): If required, input the proxy server details, for example: 123.45.67.89:8080 or proxy.example.com:8080.
- Debug Email Address: Provide an email to receive parameters of invalid transactions for debugging.
- Sort Order: Adjust the display order of this payment method - lowest is displayed first.
|
|
With these settings configured, you'll be all set to accept Opayo Server payments seamlessly on your osCommerce 2.2 store. Happy selling!
You can further discuss it on our Forum
.png)


.png)
