Assigning Theme to Sales Channels and Deleting Sales Channels
Setting up an online store involves not only creating an appealing layout but also managing various sales channels. In this guide, we will walk you through the process of assigning a theme to a sales channel and deleting unnecessary sales channels in osCommerce. These steps are crucial for customizing your store's appearance and streamlining your online sales strategies.
|
Assigning a Theme to Sales Channel:
|
|
|
|
3. Customizing Banners: After assigning the theme, tailor it to your preferences by adding necessary banners. Once configured, save your changes. |
|
4. Result: Your selected theme, such as 'Printshop,' is now applied to the designated sales channel, enhancing its frontend appearance. |
|
|
|
Deleting Unnecessary Sales Channels:
|
|
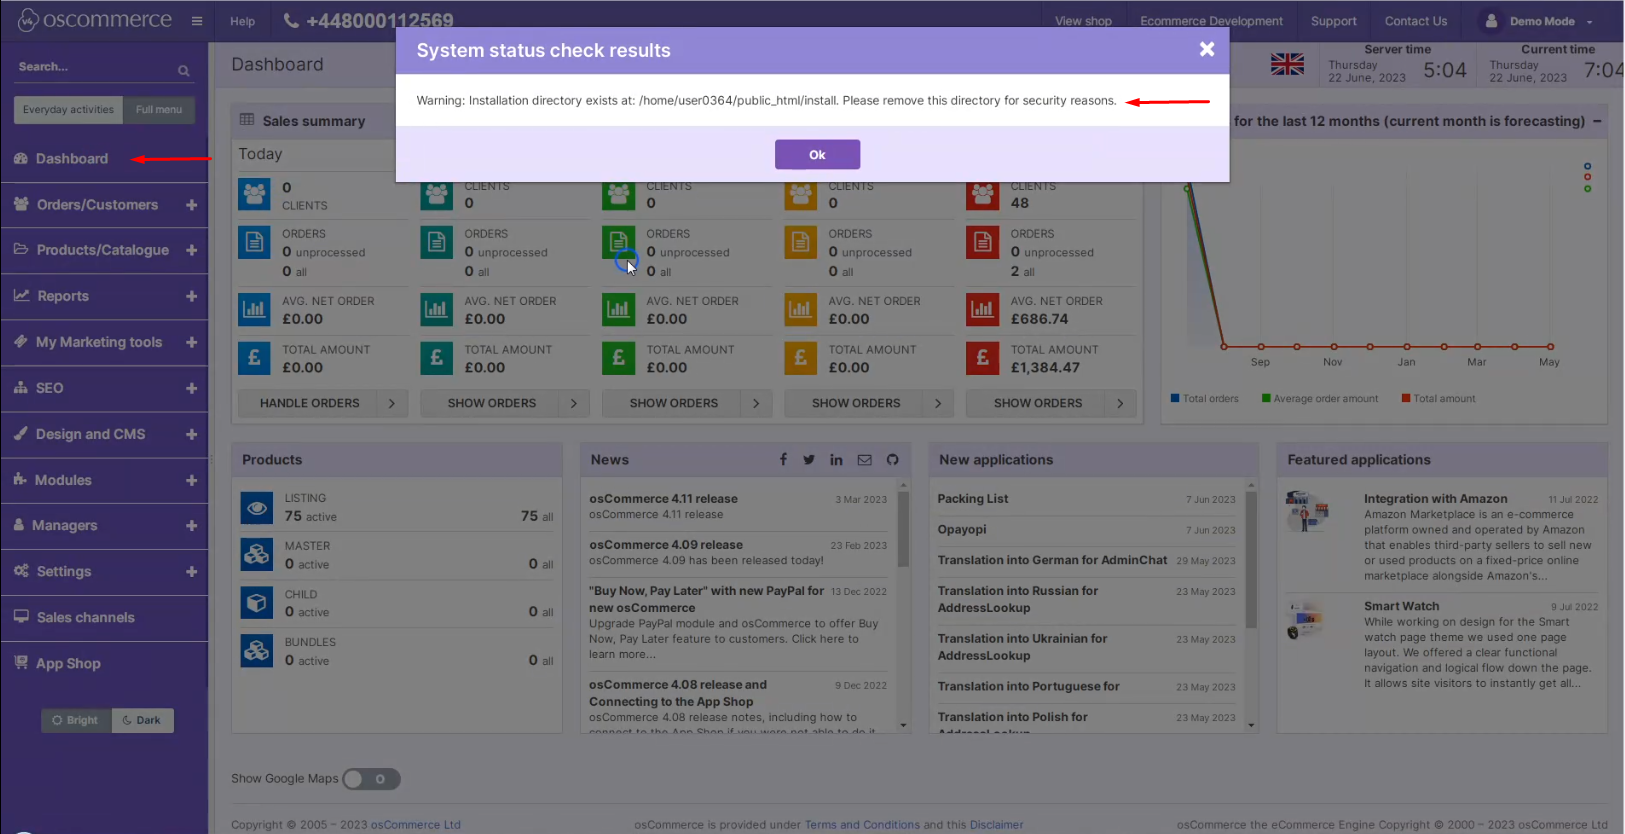
3. Handling Installation Directory: Navigate to the Dashboard tab. You might receive a warning prompting you to remove the Installation directory for security reasons. |
|
|
|
4. FTP Access: Using your FTP client, establish a connection to your server. Remove the Installation directory and symbolic links associated with any redundant sales channels.
|
|
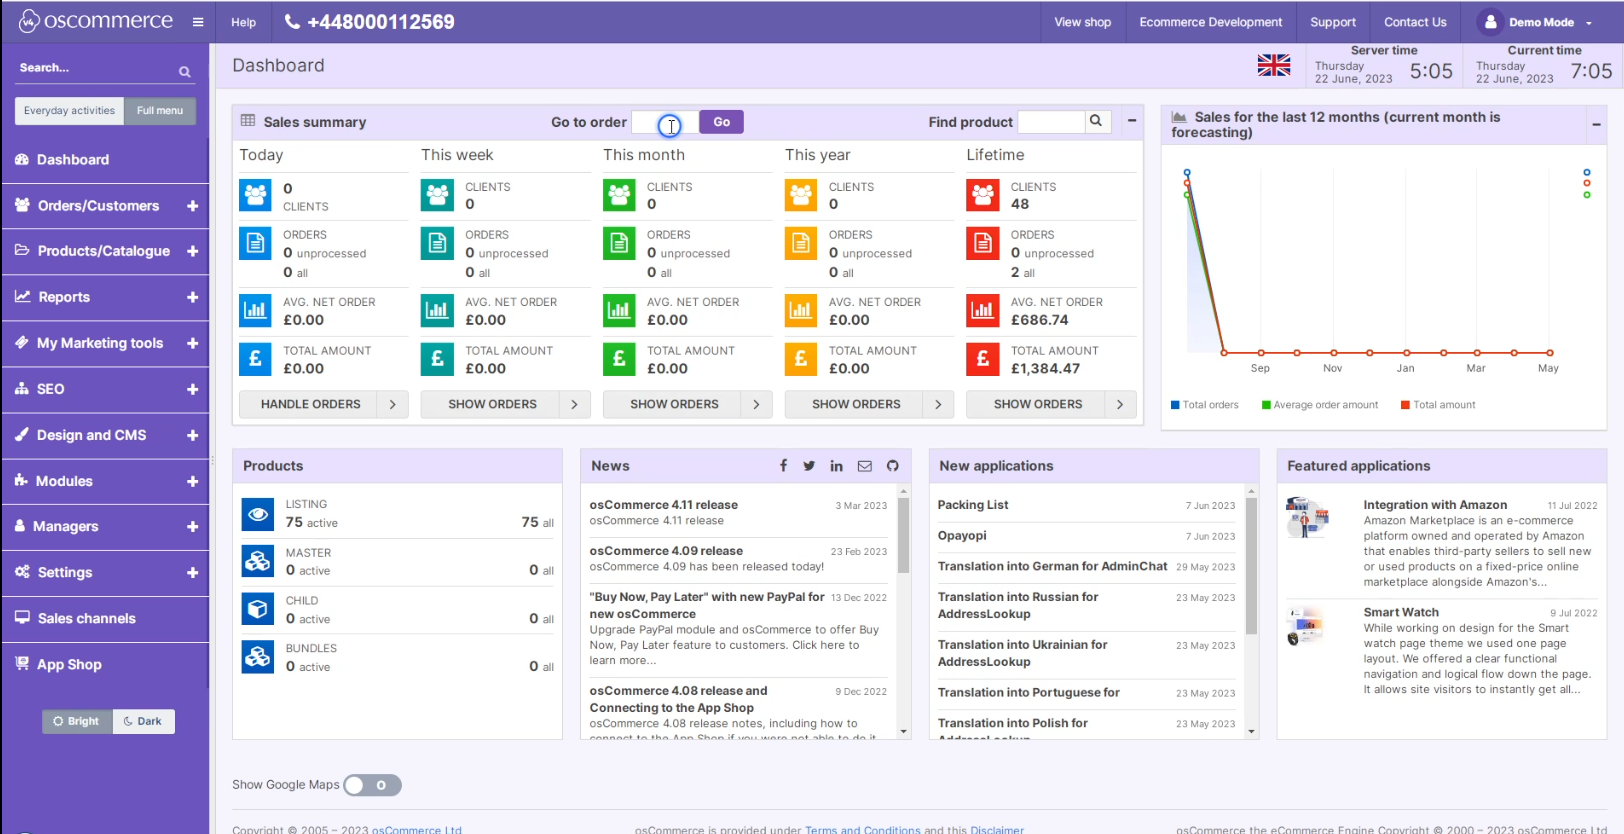
5. Verification: Refresh your page to confirm that the warning no longer appears, indicating the successful removal of the Installation directory. |
|
By following these steps, you can efficiently manage your osCommerce store's themes and sales channels, ensuring a seamless and visually appealing online shopping experience for your customers.


